 |
 |
RCA TRK-12 Restoration
I recently purchased my third pre-war television, a project RCA TRK-12. Electrically it is complete except for the 12AP4 CRT. The cabinet is structurally sound, but will need new veneer and a couple of pieces made. I plan to document the restoration here as I make progress on it. I am hoping to have it completed by the end of 2003.Looks like my end of 2003 target date has slipped a bit, now I am hoping for end of February 2004 to have the set operating.• See the finished restoration
|
|
|
|
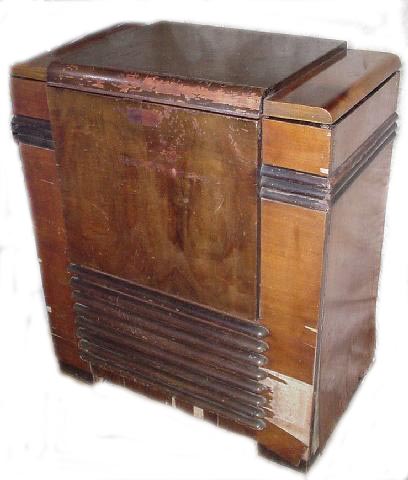
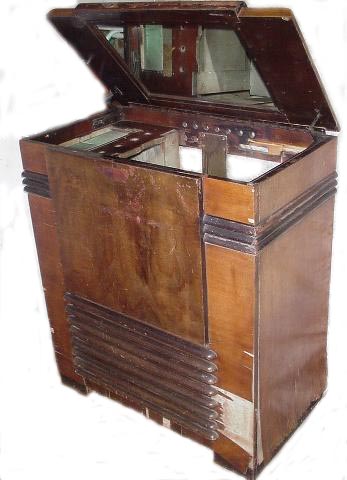
The cabinet as I purchased it. As you can see the veneer on the front is missing in sections and both sides the veneer has lifted from the core wood. The inside compartment center and right panels are missing, I do have a right panel from another cabinet but it has a few extra holes drilled in it. I believe it can be fixed and re veneered. The center panel and back will need to be made, a friend who has a complete unit has been gracious to allow me to use his parts as models for the cabinet maker to work from.I have recently acquired a complete original center panel from a friend, this will significantly reduce the restoration cost.The back and right TV panel have been made by the cabinetmaker.The cabinet restoration is complete, the cost was a bit over my budgeted amount. I plan on picking it up within the next 2 weeks and have pictures posted then. I have acquired an original back for the set, this completes the cabinet restoration As to the new finish, I have looked at pictures of many restored and original TRK-12 cabinets and many ads for this set. I feel that originally the main body, the left and right top sections of the lid were walnut with black filled grain, the front panel and the raised panel on lid were a dark walnut that allowed the book matched walnut veneer grain to show through, the horizontal trim pieces and the inside compartment were very dark, but not black. The base trim was also very dark. |
 |
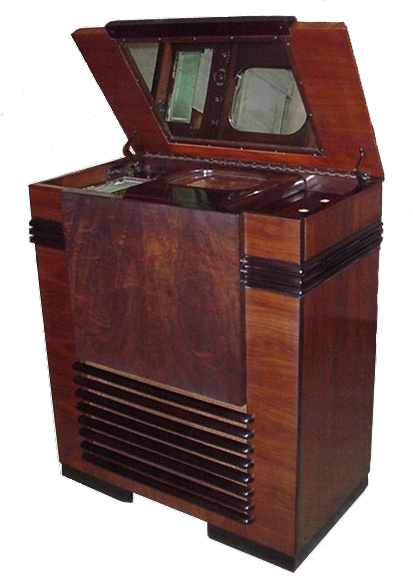 |
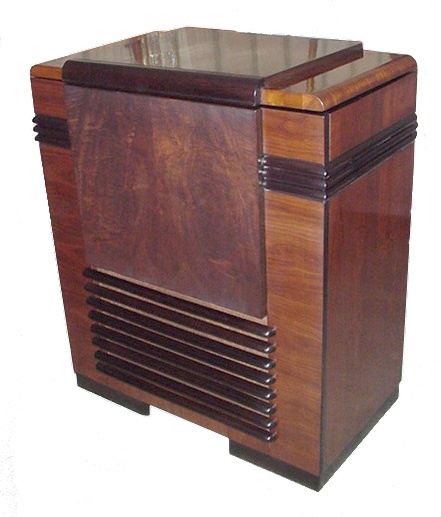
After almost a year and a LOT of money here is the restored TRK-12 cabinet. The body of the cabinet is a bit darker than what I had originally planned, but the restorer removed the old oxidized finish on a piece of the original veneer and determined that this was closer to the original color. This cabinet restoration was done by Kahl Restoration in Richland, PA. |
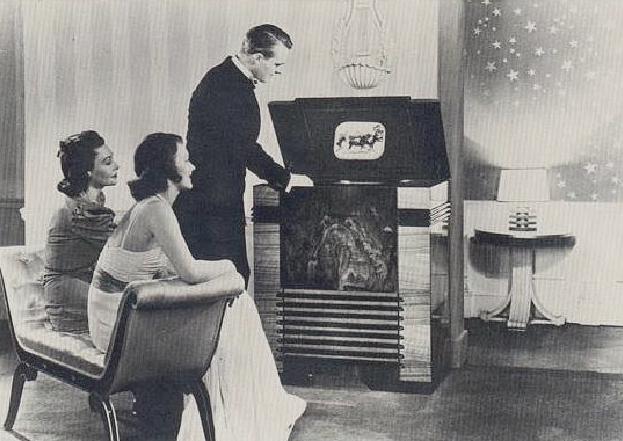 |
An early publicity ad for the TRK-12. |
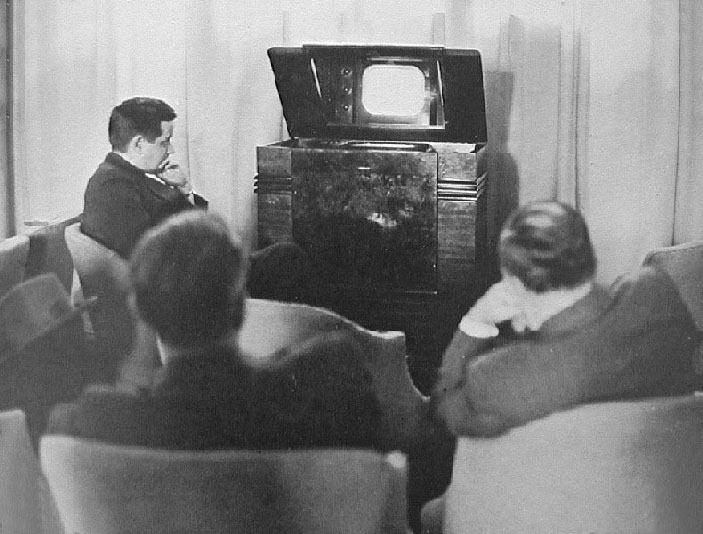 |
Another early photograph of a TRK-12, this one probably shows the original cabinet shading more realistically. Too bad the camera flash washed out the screen, I wonder what they were watching. |
 |
 |
On the left is the video chassis before being completely cleaned, on the right after being cleaned. This chassis has two problems first the fine tuner shaft was broken off at the end of the channel selector shaft. It isn't a major problem as I can either repair the existing shaft with a short extension or have a new shaft made. The second problem is the tuning slug is missing from the adjustable capacitor for channel 3 in the tuner.The tuning shaft has been repaired, the new end was fabricated from an old control and mechanically attached to the original shaft.I still haven't located a tuning slug, and still working on acquiring the CRT.I have acquired a NOS 12AP4 CRT for the set. (My thanks to Phil I.)The radio push buttons are gone and I will have to have a set made.I have acquired an original set of radio buttons for the set. (My thanks to Bill B.) |
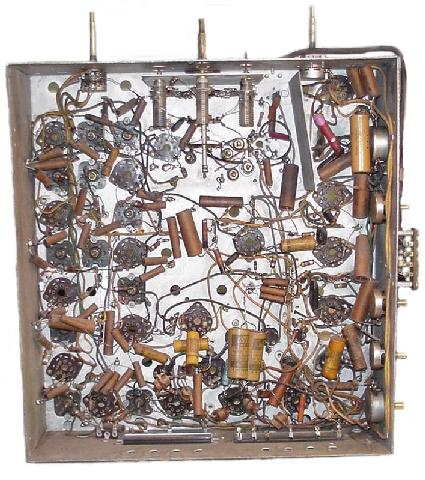 |
The underside of the video chassis. Some work had been done to it, from the looks of the parts probably in the late 40's early 50's.I have started recapping this chassis, about 25% of the capacitors have been restuffed.The video chassis is about 95% complete, I ran out of one value capacitor to finish the last 5 units.All the chassis' have been finished and are all operational. |
 |
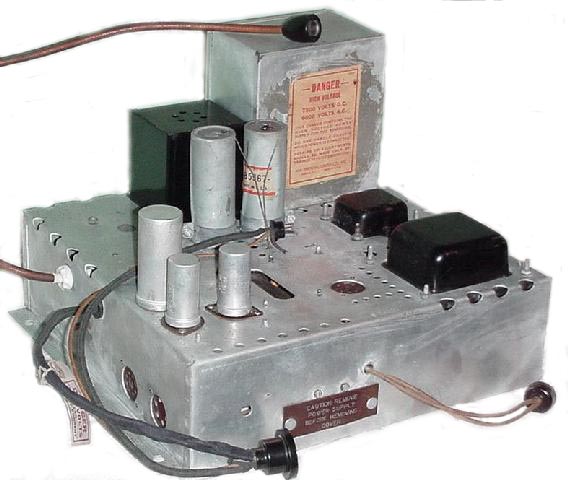 |
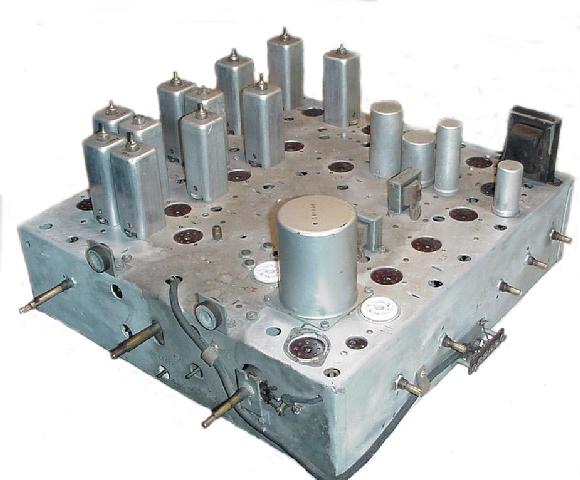
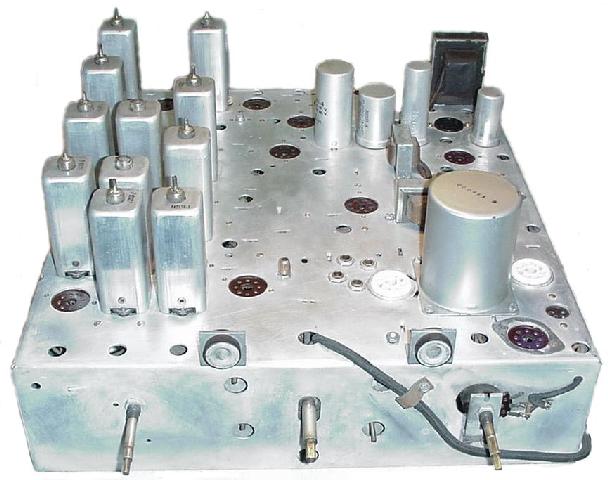
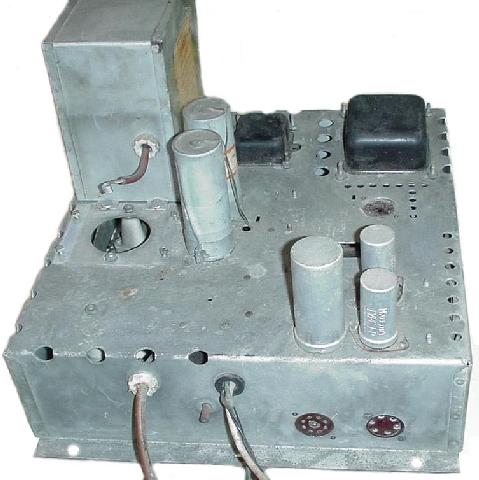
The HV chassis before and after cleaning. The transformers have been checked out and are working fine. After replacing the large electrolytic capacitor, the HV power supply is fully functional. I will be replacing the focus resistor string as they have changed in value by over 20%. The HV capacitors are still in good condition, no oil leaks and they did not breakdown under full voltage test.How to rebuild the HV capacitors . |
 |
 |
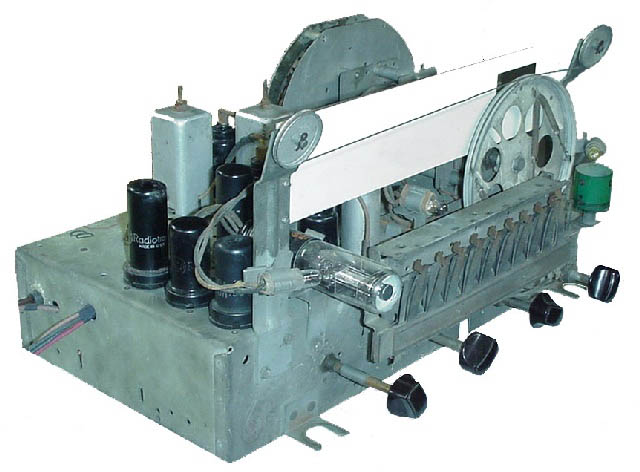
The radio chassis. I started the radio restoration this week, sometime in the past the radio had some modifications made to it. Looking at the schematic a number of parts were removed from the audio section and additional parts installed. Because of this I decided to rewire the chassis as it originally would have been, but did not re-stuff capacitors as most had been changed to later style paper units. The only problem I ran into was the broadcast band oscillator coil was open, turned out to be the center tap connection had rotted through. After fixing this, all bands were aligned and works satisfactorily. The speaker & power wire harnesses had to be replaced as the old insulation was brittle and had cracked in a number of places.
|